Subscription
In the Settings menu, you will find the general settings that apply across all modules in the system. Here you can customize the overall configurations that affect the functionality of multiple modules at the same time. Specific settings that relate to individual modules, such as bank, expenses and receipts, purchase invoices, and sales invoices, can be found under the respective modules in the system.
The Subscription page displays the information retrieved from third-party systems integrated with 2Click Accounting. This page is divided into three tabs, each of which contains relevant information for your account setup:
-
Billing details
-
Auditor company
-
ERP connection
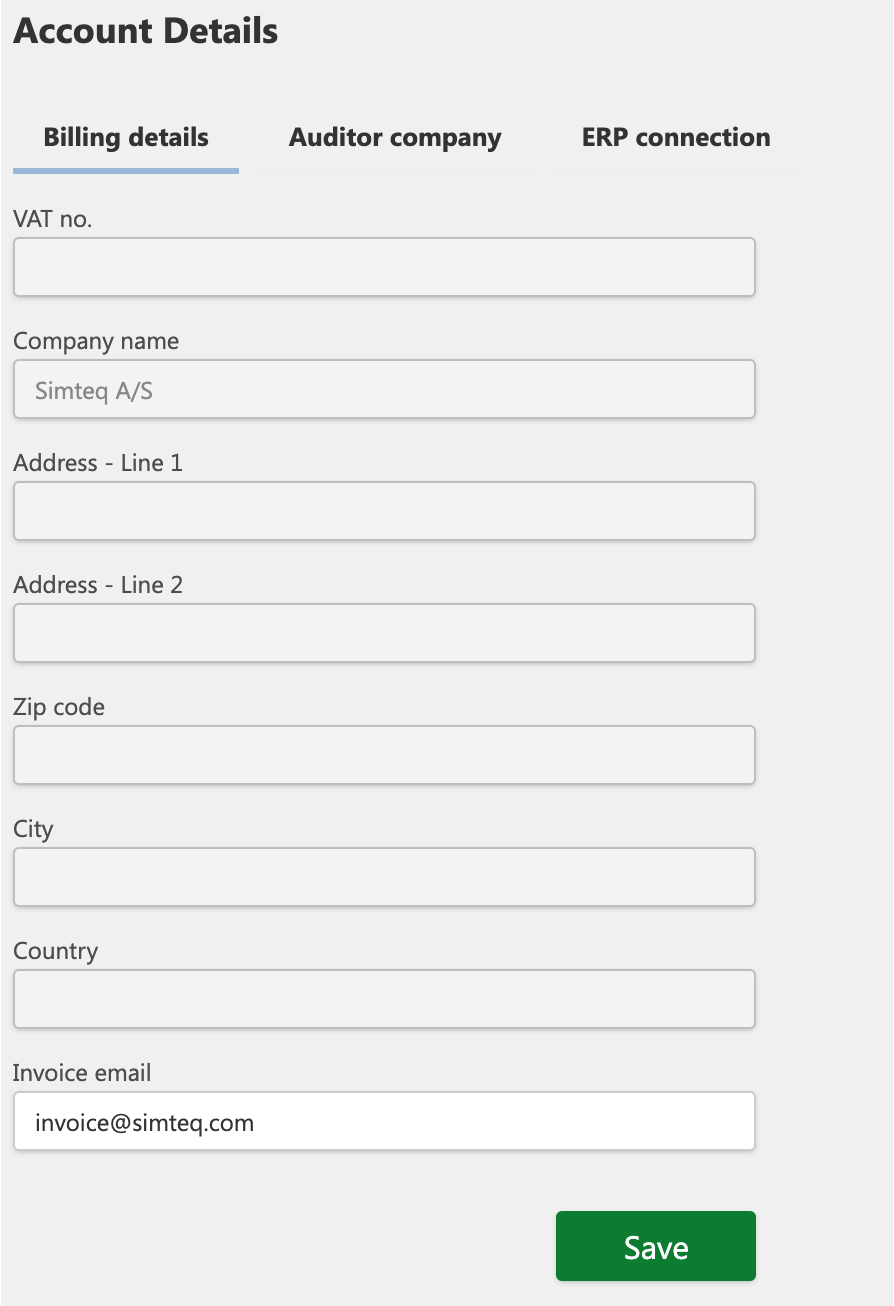
Billing details
The billing details typically includes the details retrieved from the ERP system associated with 2Click Accounting. The fields in this section are not editable as they originate from the integrated system. It is possible to enter billing information:
- Invoice email (the email address used to receive invoices).

How to access billing details
-
Click Settings from the menu and select Subscription.
-
Navigate to the Billing Details tab to view your billing details.
Auditor company
In the Auditor Company tab , you can specify which auditor handles the accounting and audit of your company's finances. This field allows the system to keep track of which auditor company is associated with your account.

How to set up the auditor company:
-
Click on "Settings" in the menu and then on "Account".
-
Select the "Auditor company" tab.
-
Click on the box and select the relevant auditor company from the list.
-
Click "Save" to update your information.
ERP connection
In the ERP connection tab, you can find information about the integration between 2Click Accounting and your ERP system (if applicable). This enables a seamless synchronization of data and efficient financial management across systems.
BC Instance Setup
To configure the BC instance in 2Click Accounting, follow these steps:
-
Click Settingfrom the menu and select Account.
-
Navigate to the ERP connection tab.
Under this section, you will find the following fields:
-
ERP system
-
Web Client URL
-
API URL
-
SOAP URL
-
Azure AD ID
These fields will be automatically filled in during the onboarding process when you connect to our system. If you as a company need to change this information, the request must be sent to 2CA Support.