My expenses
Expenses → My expenses is where you create and follow your own expenses. There are three kinds: an expense with a receipt, mileage, and per diems.
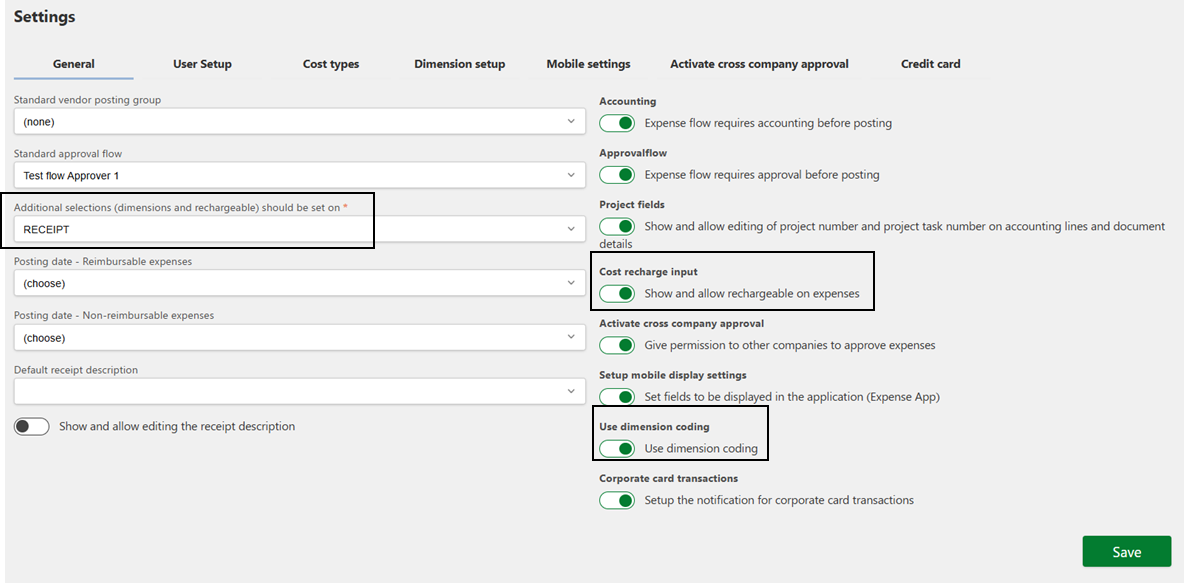
How the page looks depends on whether Folder or Receipt is selected in the expense settings. With Receipt selected, recharging and dimension coding are set on the receipt itself rather than on the folder.
The page
The page has two halves: the table of expenses on the left, and folder, receipts and activity on the right.
Search and filters
The search field accepts cost type, date or amount. The small x clears it.

Four filters sit above the table, each showing how many expenses it holds. The active one has a darker background, and Accounting is active when the page opens.
| Filter | What it holds |
|---|---|
| Rejected | Expenses sent back during posting. You have to correct these before they can go for approval again. |
| Accounting | Waiting for the bookkeeper to accept them. |
| In approval | Accepted by the bookkeeper, now with the approval flow. |
| Archive | Approved, for you as the logged-in user. |
The table
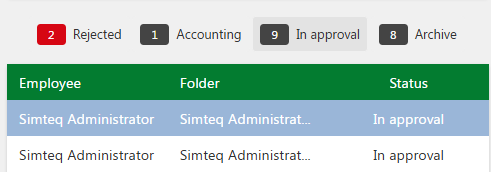
Each expense is identified by employee, folder — the name you gave it when sending it to the bookkeeper — and status.
Below the table, the buttons on the left move between pages and those on the right choose how many rows to show; the active choice is marked green.
Folder, receipts and activity
Selecting an expense opens it on the right, where you can switch between Folder, Receipts and Activity.
A summary box at the top shows the amount in both the employee's currency and the company's. These differ when you paid in one currency and the company reports in another — the conversion is calculated for you.
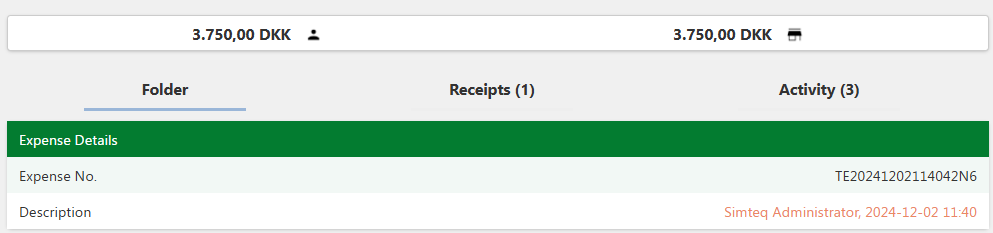
Once a folder has been processed it carries an expense number, which is how it is tracked from then on. Which fields appear depends on what is enabled in Settings.
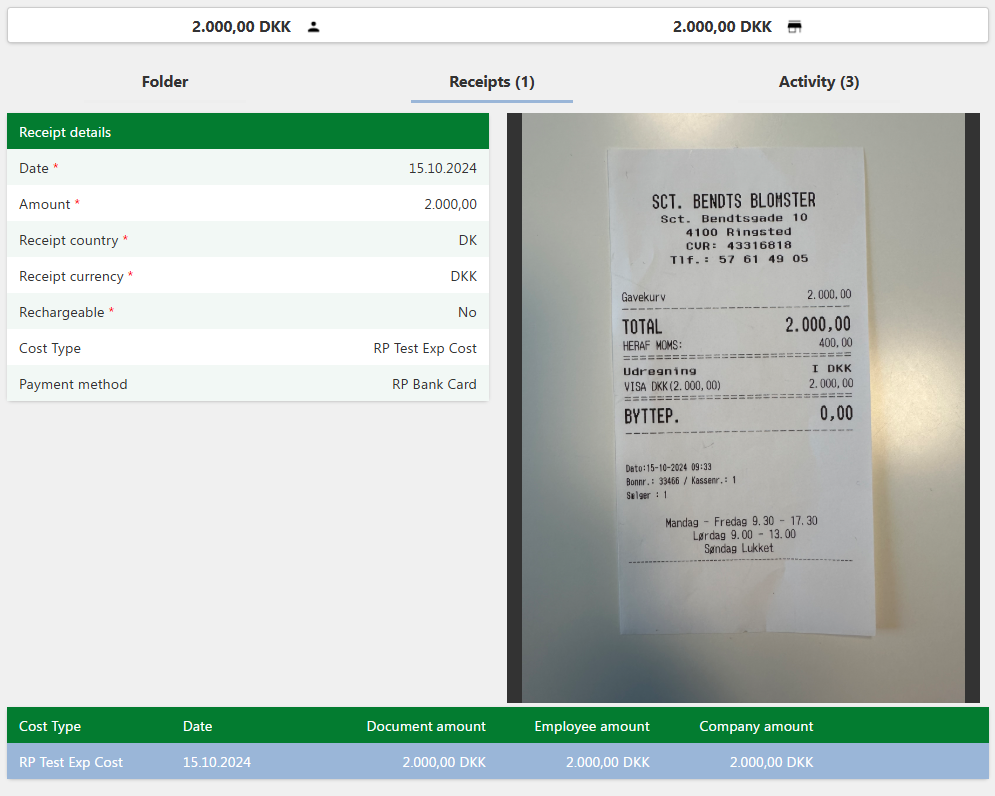
The Receipts tab shows a count in brackets. Opening it shows each receipt's details beside an image of the receipt, and you can page between them. The details always include at least the date, amount, receipt country, receipt currency and whether it is rechargeable.
Receipts
Receipts can be added in two ways:
- Upload receipt in the menu, or
- through the phone app, when you take the picture.
They sit under My receipts until you use them on an expense.
Create an expense
- Go to My expenses.
- Create the expense and attach the receipt.
- Fill in description, expense type and payment type.
- Fill in any dimensions.
- Save.
A receipt needs all of: a cost type, a payment method, a date, an amount, a currency and a country. The amount must not be zero — a zero-amount receipt counts as having no amount.
You are told one missing field at a time, so the message always names something specific to fix.
What the cost type can demand
The cost type you choose decides what else is required:
- Dimensions. Any of the five can be marked required. Some are fixed by the cost type and shown without being editable.
- Business purpose, cost type comment, or both.
- A question. Some cost types ask a yes/no question. One of the two answers then requires either an amount or a comment — that is how a cost type collects detail only when it is relevant, such as whether part of a meal was private.
"No payment method is set up for you." Your user is missing setup. Ask your administrator to add one under User setup.
"No cost type is set up for the selected country." That combination of country and chargeable choice is not set up. Choose another, or contact your administrator.
Mileage
Mileage is created without a receipt.
- Choose Mileage.
- Enter the travel date, from city and to city.
- Choose a category — it determines the rate.
- Tick roundtrip if you drove both ways.
If you cannot remember the distance, use the Route planner: enter start and end, choose the travel mode, and select Calculate. It fills in the calculated kilometers.
The allowance is split into a non-taxable and a taxable amount. Both are shown before you save.
Per diems
- Choose Per diems.
- Enter the travel type, from city, to city, and the start and end time.
- Go through the list of days.
For each day, deduct the meals that were paid for — breakfast, lunch and dinner — and state whether there was accommodation. The system calculates the per diem, any accommodation addition, and the day's total.
What happens next
The expense goes to the bookkeeper, then to approval, then to posting. You can follow it under Status.
While the expense is still New, you can delete it yourself. If it is rejected, you can delete it — its receipts return to My receipts so you can use them again.